Audi Q3: Bulkhead
Overview - Bulkhead
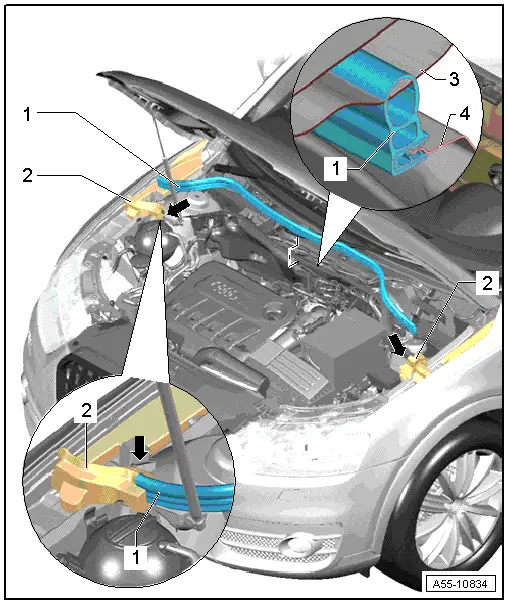
1 - Gasket for Plenum Chamber
- To remove, pull forward off the body flange.
- Mount the seal on the foam piece -arrows- and then push it onto the flange on the body.
- Mount the seal on the opposite side on the foam piece and push it onto the flange on the body.
- Press the seal on the opposite side on the flange on the body using up any overlap.
2 - Right Sealing Profile
- To remove, unclip it from the fender flange and the suspension strut tower.
- Press the clips on the foam piece into the body when installing.
3 - Hood
4 - Plenum Chamber Bulkhead
- Slide the plenum chamber seal on at the sides.
Overview - Plenum Chamber Cover
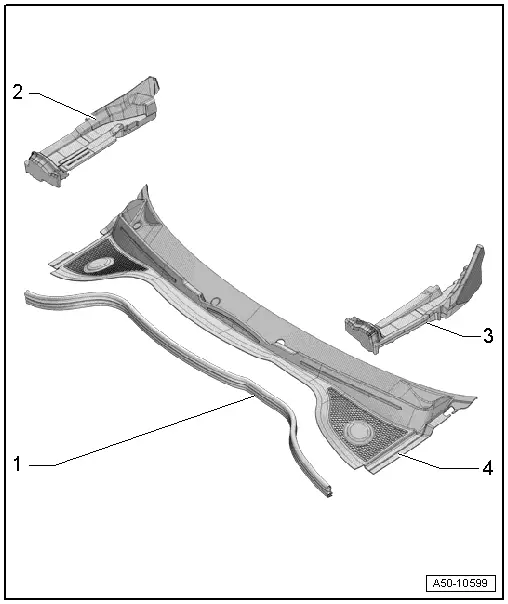
1 - Seal
- Replace if damaged
2 - Right Sealing Piece
- Removing and installing. Refer to → Chapter "Sealing Piece, Removing and Installing".
3 - Left Sealing Piece
- Removing and installing. Refer to → Chapter "Sealing Piece, Removing and Installing".
4 - Plenum Chamber Cover
- Removing and installing. Refer to → Chapter "Plenum Chamber Cover, Removing and Installing".
Plenum Chamber Cover, Removing and Installing
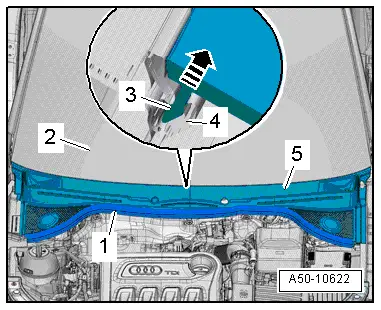
Removing
- Remove the windshield wiper arms. Refer to → Electrical Equipment; Rep. Gr.92; Windshield Wiper System; Wiper Arms, Removing and Installing.
- Remove the seal -1-.
 Caution
There is a risk of damaging the plenum chamber cover.
Coat the transition between the windshield -2- and the plenum chamber cover -5- with a soapy solution and carefully remove the plenum chamber cover vertically upward from the window starting with the retainer on the windshield.
- Remove plenum chamber cover -5-, to do this carefully remove the plenum chamber cover tab -3- in the direction of the -arrow- from the windshield bracket -4-.
Installing
Install in reverse order of removal. Note the following:
 Note
Note
- The plenum chamber cover cowl panel must lock completely into the windshield frame.
- If the plenum chamber cover is damaged or mounted incorrectly water can flow in the fresh air intake. This can cause odor from the heat/A/C system and/or moisture in the vehicle interior.
Special Tools
Special tools and workshop equipment required
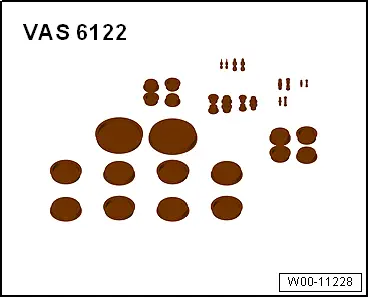
- Engine Bung Set -VAS6122-
- Shop Crane - Drip Tray -VAS6208-
- Hose Clip Pliers -VAS6362-
READ NEXT:
 Overview - Hood
Overview - Hood
1 - Hood
A second technician is needed to support and hold the hood during
removal and installation.
Removing:
Unclip and remove the cover -4-.
Engage th
Overview - Release Cable
Overview - Latch Release Cable
1 - Right Hood Latch
Removing and installing. Refer to
→ Chapter "Hood Latch, Removing and Installing".
2 - Hood Latch Cable
R
SEE MORE:
Interrupting the park assist
Applies to: vehicles with park assist
Park assist will be canceled automatically in the
following scenario:
You switch the system off.
You start steering.
The speed is too high.
The time limit is exceeded.
An obstacle is detected.
ESC intervenes.
Resume control of the vehicle, end the park a
Component Location Overview - Components Outside of Passenger Compartment
Component Location Overview - Components Outside of Passenger Compartment,
Front Component Group "1"
Note
Depending on the engine version to support the engine
coolant pump an After-Run Coolant Pump -V51-/Heater Support Pump
-V488- may be installed (different designations depending
