Audi Q3: Center Armrest, Removing and Installing
Center Armrest, Removing and Installing
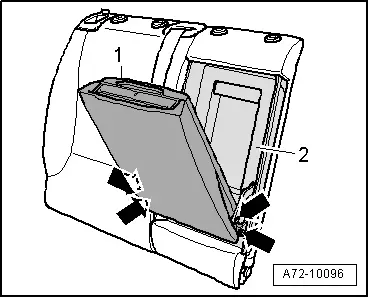
Removing
- Fold up the rear center armrest 2/3.
- Remove the bolts -arrows-.
- Remove the rear center armrest -1- from the pass-through door -2-.
Installing
Install in reverse order of removal. Note the following:
Installation notes, for example tightening specifications, replacing components. Refer to → Chapter "Overview - Center Armrest".
Cupholder, Removing and Installing
Special tools and workshop equipment required
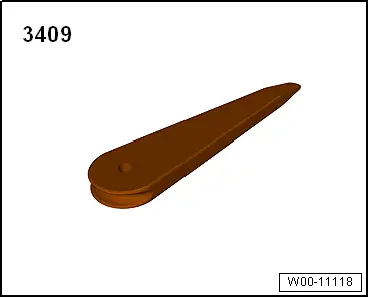
- Trim Removal Wedge -3409-
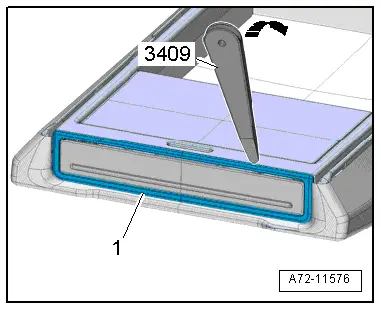
Removing
- Fold down the center armrest.
- Pry off the trim -1- using the Trim Removal Wedge -3409--arrow-.
- Remove the trim from the center armrest.
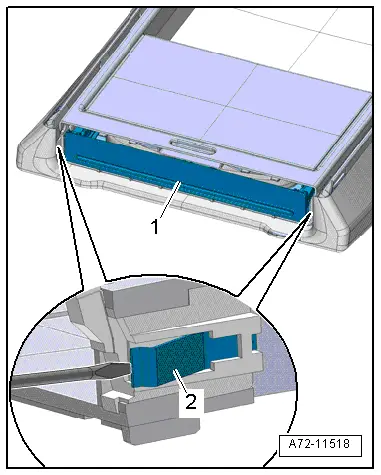
- Open the flap -1- on the cupholder.
- Release the spring -2- using a screwdriver and carefully remove the cupholder alternating between the sides.
Installing
Install in reverse order of removal.
Installation notes, for example tightening specifications, replacing components. Refer to → Chapter "Overview - Center Armrest".
Special Tools
Special tools and workshop equipment required
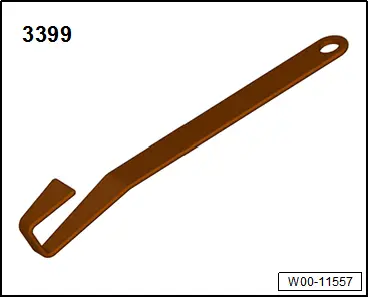
- Assembly Tool -3399-
- Trim Removal Wedge -3409-
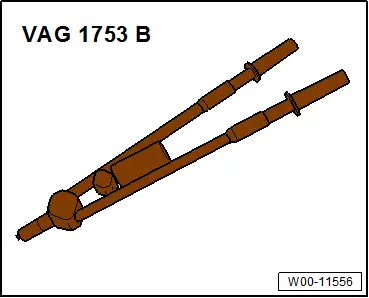
- Pop Rivet Pliers -VAG1753B-
- Drill
- Protective eyewear
- Airbag Lockout Adapter -VAS6282-
- Universal Vehicle Protector -VAS871 001-

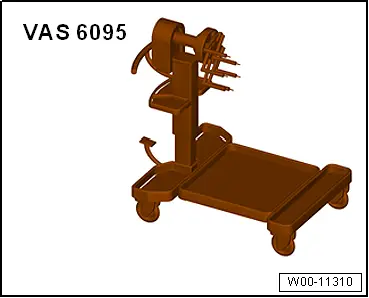
- Engine and Gearbox Bracket -VAS6095A-
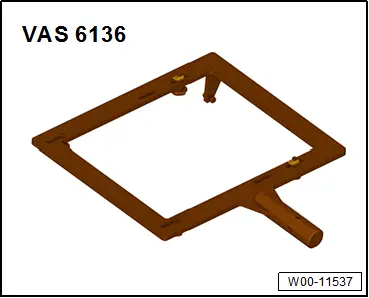
- Engine/Transmission Holder - Seat Repair Fixture -VAS6136-
READ NEXT:
 Overview - Seat Pan Cover and Cushion
Overview - Seat Pan Cover and Cushion, Standard/Folding Seat
Note
The illustration shows versions with a fabric cover.
1 - Seat Pan
2 - Seat Cushion
Seat cover a
Seat Pan Cover and Cushion, Removing and Installing
Seat Pan Cover and Padding, Removing and Installing, Standard/Folding
Seat
Special tools and workshop equipment
required
Backrest Panel Tool -3370-
Removing
WARNING
Follow aSEE MORE:
Backrest Release, Removing and Installing
Note
Release is only on front passenger side folding seat.
Removing
- Remove cap -2- using
screwdriver.
- Open the tabs with a screwdriver
-arrows- and remove the release lever
-1- from the backrest.
Installing
Install in reverse order of removal.
Installation notes, f
Anti-Theft Alarm System
Overview - Interior Monitoring
1 - Nut
7 Nm
2 - Bracket
For Alarm Horn -H12-
3 - Alarm Horn -H12-
Removing and installing. Refer to
→ Chapter "Alarm Horn -H12-, Removing and Installing".
4 - Connector
5 - Right 